Are you planning to take your outdoor gardening indoors? Do you reside in a megapolitan city and you are looking for ways to grow herbs in your apartment?
Whether you want to grow marijuana or just some basic herbs indoors, you can do it all year round, courtesy of a growing kit.
What Is a Growing Kit?
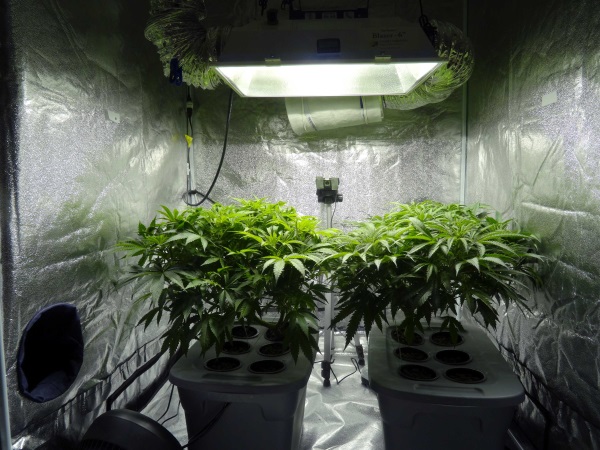
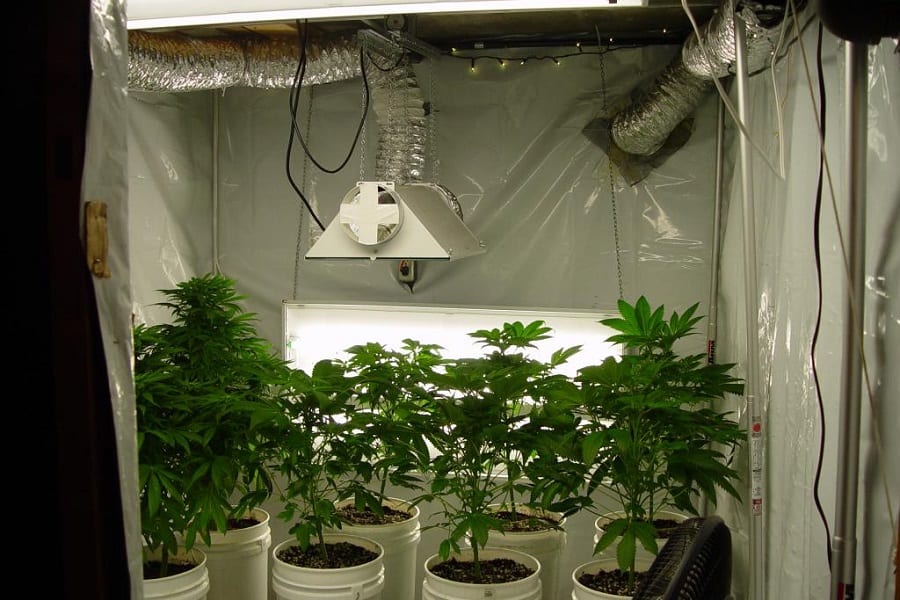
It is a portable and reusable grow room for plants. It is suitable for people who want to grow plants indoors but have fears about compromising the privacy of their homes or subsequently messing up the apartment.
Generally, gardening outdoors can be quite messy. And we can say the same about growing herbs/plants in closets or a room in your house. It could also be an expensive venture and sometimes, not feasible. This is the reason why several home growers have switched to growing kits.
This method of indoor gardening is discrete and provides a good setting for the plants to thrive. When compared with using the spare bedroom or the closet, grow kits are better. You may want to visit Canadagrowsindoors.ca to find more information on growing kits and gardening tips.
What Can You Find Inside a Grow Kit?
Ideally, using a kit is a great way to start indoor gardening because you only have to purchase an outfitted growing space. If you try to buy the individual components for the grow room, it could cause you some headaches. And it may even be more expensive than the pre-configured kit.
Some of the components of the kit are:
1. Grow Lights
One of the essential things needed for an indoor garden to thrive is a grow light. And without the sun, you have to provide your plants with an artificial light source for growth.
There are different kinds of grow light that could overwhelm any buyer. However, we will help you by giving you a detailed description of the lighting types that are available. This will enable you to pick the one that you most prefer.
High-Pressure Sodium (HPS) and Metal Halide (MH)
These are high-intensity illumination options. They are very efficient and generate so much light. The metal halide produces a blue light that promotes vegetative growth but with less flowering.
Also, the orange to red hues of the high-pressure sodium (HPS) are excellent for producing flowers and buds, but the plants won’t be strongly built. When used together, the metal halide light would promote the growth of leaves before swapping it with the high-pressure sodium light for flower production.
The MH and HPS growing lights are examples of traditional illumination technology. They’re good for beginners who are in search of a cheap and straightforward source of light and do not mind switching lights between vegetation and flowering.
Light Emitting Diode (LED)
This option is quite new yet popular. It emits near-zero heat and requires minimal energy to function. You can program it to look like the color temperature of the sun and it can simultaneously generate blue and red band spectrums which plants need for both flowering and vegetative growth.
LED lights are costly. However, as technology advances, the prices may fall.
Fluorescent Light
This is a popular option for many home growers. The traditional type does not have the correct range required for flowering. So, it is best used for the germination and growth of vegetative parts. However, the newer versions offer wider spectrums for multi-purpose use.
Fluorescent is safe to use because it does not generate much heat. It’s also budget-friendly, versatile, and very efficient.
Irrespective of the type of illumination you choose, you need to purchase other accessories like the light timer and hangers. You will connect the timer to the grow light. This will enable you to configure the daytime and night-time periods. On the set intervals, the light will automatically turn on or off.
2. Bulbs
These will serve as a replacement for the grow lights when they burn out or malfunction.
3. Ballasts
These are the sources of power for the lights. They generate enough power to enable the arc to power on when the light is turned on. Afterward, they regulate the current and offer a steady beam.
4. Reflectors
They help to magnify the effectiveness of the lighting system. The light that would have been shining towards the ceiling would be directed downwards towards the plants. This action of the reflectors helps to optimize electricity usage.
How to Build Your Own Grow Kit

Building your own kit is quite simple.
Materials
Here are the things you need:
1. PVC
You need PVC pipes of 19mm since they are strong, cheap, and suitable for making the frame. You need:
- 16 pieces of straight pipes to make the horizontal and vertical sides of the frame
- 8 pieces of 90-degree fittings for the corners
- 1 cross fitting
- 4 pieces of t-fittings
2. Reflective Film
This film will be placed on the walls. The black portion will absorb light while the white portion will reflect it.
3. LED
There are different types of illumination, but LED is more durable and energy-efficient. You can also use any of the high-intensity lights we have earlier discussed. They are cheaper and will produce good results. However, you have to replace them after 2 harvests, and they consume more energy.
4. Fan
You can use a fan that has a carbon filter if you are building a big tent. Otherwise, a wall fan will be okay.
Tools
Duct tape (for covering the reflective film)
Velcro (to serve as an opening for the tent)
Hand saw (to cut the PVD pipes)
Procedures
Follow these steps to build the grow tent:
1. Assemble the Frame
Cut the PVC pipes to your desired size using the hand saw. You will need 8 pieces for the tent’s roof, 4 to make the base, 4 to make the vertical side (it should have a minimum length of 1.5 m).
Connect the pieces with the fittings and make the frame. It is important to note that the roof will have cross fittings at the center for additional stability since it will hold the fan, light, etc.
2. Cover the Tent
You will cover the tent two times. The first time, you will use the white portion of the film to cover the inside. The second time, you will use the black portion to cover the outside.
After that, place another film over the roof ensuring that you have an overlap of about 3 to 5 cm on each wall. Hold it down using the duct tape. Examine the interior for light leakage. If there is any, use the duct tape to cover it from the exterior.
To open the tent, cut a film that is about the length of the mid-roof to the tent’s base. Attach it to the tent’s roof using duct tape. Then use Velcro to attach it to the side and base of the frame.
3. Install the Fan and Light
Install the grow light according to the manufacturer’s instructions. It will stay at the center top. You will pull its power cord out of the tent through an opening on the roof, then seal it properly to avoid light leaks.
Finally, place the fan at the base and that would be all. You may want to read this article on growing plants in artificial light.
Conclusion
Indoor gardening is convenient and very satisfying. However, you need to monitor the growth conditions like temperature, humidity, and light. If you build your growing tent to standard, you may not have a lot of trouble maintaining the optimum growing conditions.

Leave a Reply